I'm long overdue for another update on the crucifix. These photos were taken between Oct 15 and 21, and they outline the entire underpainting process. Making an underpainting in grayscale goes back to the early Renaissance. Not long after oil paints had been invented, painters began to discover that one could paint the values (light and dark shades) of the form first, and then paint thin layers of color over the top, letting the underlying structure show through, and giving the body a luminous, life-like quality. It takes more time and effort than painting the figure alla prima, but the result, I think, is well worth it.
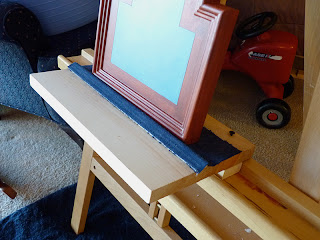
The first thing I had to do was build an extension to my easel, because the supports I screwed to the back made the cross too wide to fit onto it. I just screwed some scrap wood to it, and glued a piece of cloth to it just to give it some added protection. (I'm thinking forward to when there will be gold leaf around the edges.)
I began the underpainting by filling in the light and dark areas I had outlined in the cartoon with solid color, almost like a paint-by-number. When I had the values blocked out, I could then blend them together and refine the form. I painted one area of the figure at a time.
Reference is invaluable. Cloth is especially not the sort of thing that you want to invent when you're working at this scale and level of detail. It has a sort of structured chaos that is very difficult to fake. So even though I didn't have a body of Christ in front of me, I set up a sort of still life and photographed it in a few different lighting situations. I could then pick and choose details from either photo that were more interesting, or that seemed to work best on the figure of Jesus. The end result is much more convincing than it would have been if I had tried painting from my imagination.
The underpainting has to thoroughly dry before I can attempt to start glazing color over it. Every part of the underpainting except for the loin cloth had been drying for four days before I started glazing.


No comments:
Post a Comment